Pixel Maps [Tab 9]
This display shows all pixel maps. A pixel map is a layout of fixtures in an X-Y grid, associating the channels and their parameters with pixels in an image or video, allowing media content to be represented visually by the fixtures in the grid.
Pixel Maps can be opened in a standalone tab from the Workspace Layout Menu or by using [Tab] & [9].
This display can also be accessed:
-
- Via a connected keyboard with ALT+XX.
- From the Central Information Area (CIA) under Browser > Record Target Lists > Pixel Map List.
Overview
Limitations of pixel maps include:
- 40 pixel maps per show file
- 12 layers per pixel map
- 262,144 pixels per pixel map grid
Hovering your cursor above the pixel map will display the column and row location for the pixel.
In the pixel map display, any numeric entry is assumed to be a pixel map. Each pixel map must have a unique number.
Creating Pixel Maps
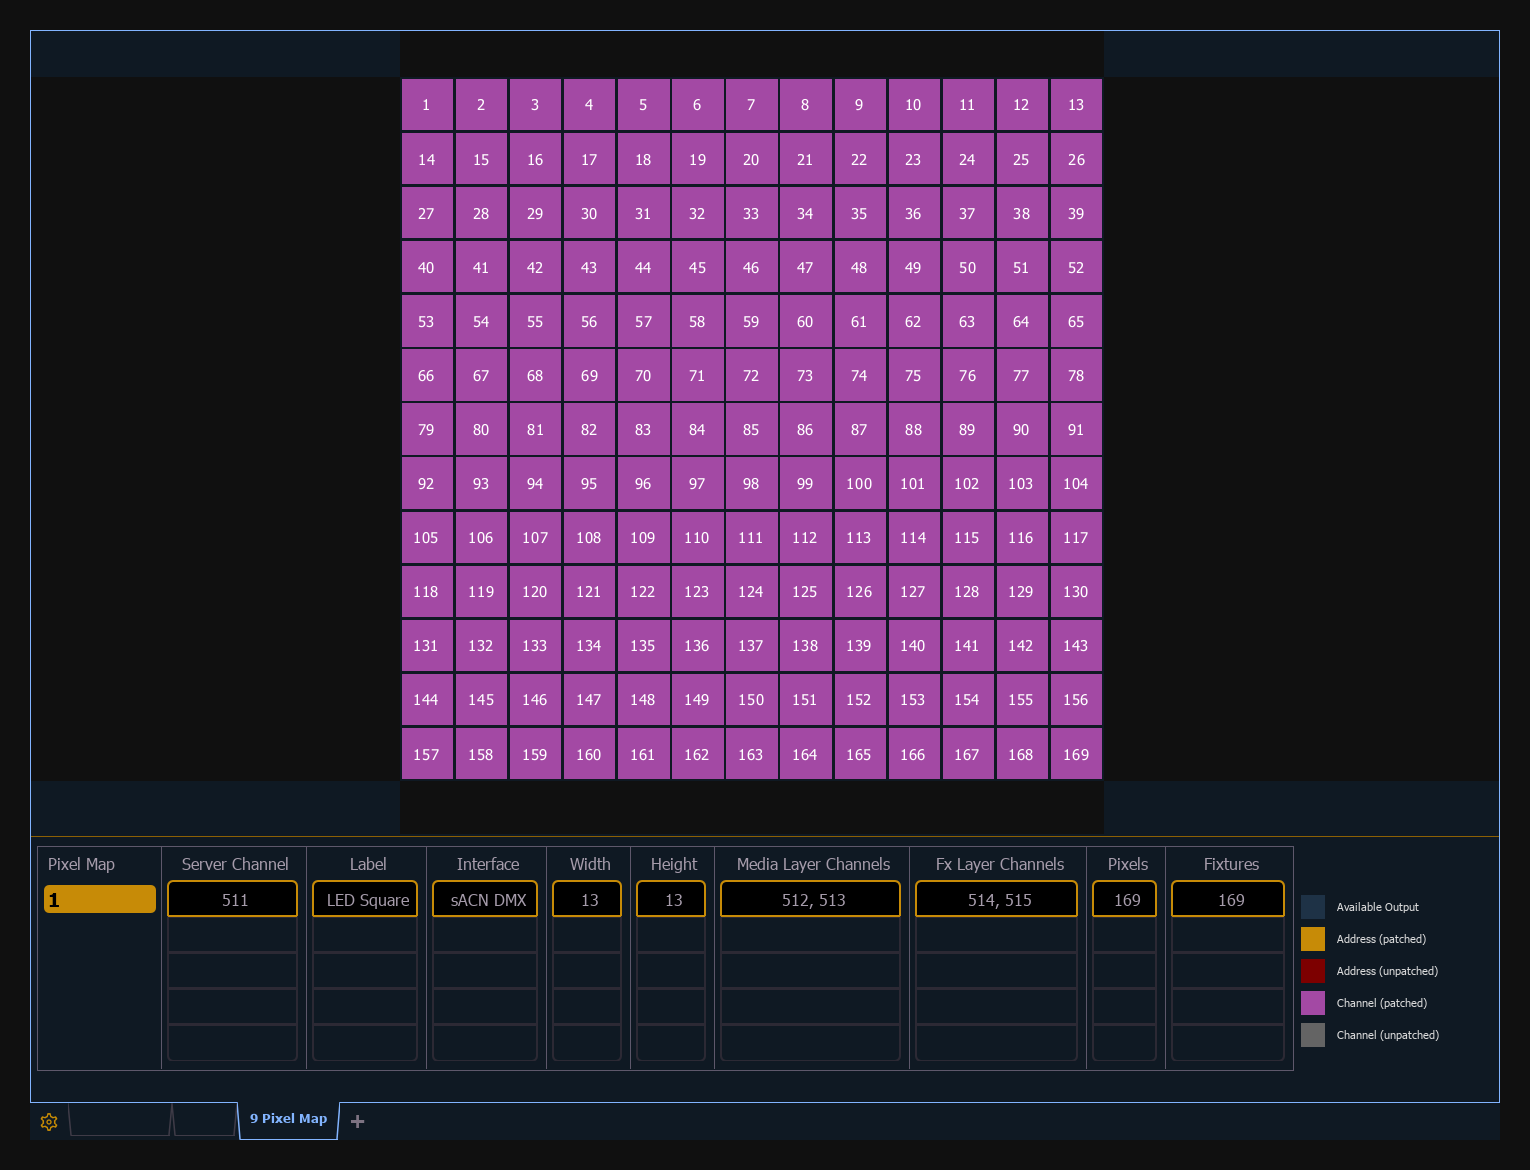
To create a pixel map, type in the number you want to assign to it and hit [Enter].
In this display you can also label the pixel map, assign the interfaces it will use, and adjust the width and height. Column and row guides can be created numerically in either the pixel map or in the Edit displays. The guides can aid in viewing a pixel map.
Assigning Layers
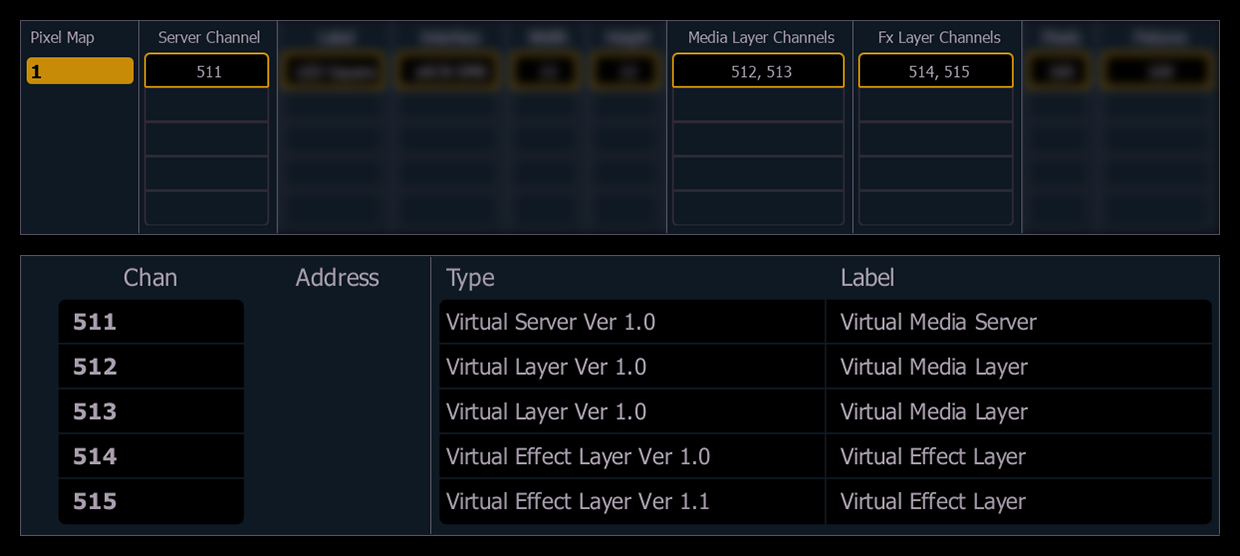
In Patch, the channel types can be found under ETC Fixtures > Virtual. Since the media server is internal to Eos, no addresses need to be assigned to the channels.
Using the softkeys, select {Server Chan}, {Media Layer Chan}, and {Effect Layer Chan}, and associate them with the channels you want to patch. If those channels are unassigned, Eos will automatically patch them accordingly. An error will appear if any channels are assigned to a different device type.
Editing Pixel Maps
After layers have been patched, press the {Edit} softkey to select the fixtures.
In the Edit screen, you will be able to define the array and types of fixtures. To do this, you can select pixels from the map by using a touchscreen or by holding down the left button on a mouse and dragging across the pixels you wish to select.
Once the pixels have been selected, you need to select their fixture type and then assign the starting address or starting channel.
- When either {Starting Channel} or {Starting Address} is selected, both fields will be cleared.
- Address-based pixels can not overlap with channel-based pixels. This includes the entire DMX fixture footprint.
- If using {Starting Channel}, any overlapping channel-based pixels will be removed and any overlapping address-based fixtures will be unpatched.
- If using {Starting Address}, any overlapping address-based pixels will be removed and any overlapping channel-based fixtures will be unpatched.
- When the [Data] key is latched, the address for channel-based pixels will display.
- When [Format] is pressed, the address will toggle between port/offset and address number.
By default, the addresses will be organized in rows starting from the left to the right and top to bottom. The edit screen shows a representation of the current mapping. The pixels are color coded based on if they have been patched or not. A color coding guide is provided on the screen.
Any pixel can have its size adjusted for better representation of the actual fixtures. This is done by selecting the pixel and then dragging the vertical and / or horizontal borders.
A pixel map can be moved within the edit display by holding down the right mouse button. The map can be zoomed either by using a mouse wheel or by holding down [Format] and moving the level wheel.
Options available for changing the mapping:
- {Horizontal Order} - toggle state from left to right to right to left
- {Vertical Order} - toggle state from top to bottom to bottom to top
- {Direction} - toggle state from rows to columns
- Click the {Apply} button to see the changes made while still in the edit display.
In the edit display, the softkeys will repaint to the following mapping options:
- {Rotate 90}
- {Flip V}
- {Flip H}
- {Invert}
To see the changes made by using the softkey mapping options, you don't need to press {Apply}.
The {Flash} button can be used to check the address output while still in the edit display. {Flash} works the same as it does in Live.
When editing is finished, press the {Done} softkey to exit the edit display.
Pixel Map Tab Configuration
Tab configuration menus contain additional sets of context-specific options for a display. They can be accessed from the bottom of the Tab Tools by right-clicking or double-tapping either the tab or the gear icon to the left of the frame's tab bar.
The following options are available:
- Zoom to All - zooms to show all objects.
- Zoom to Selection - zooms to show all selected objects.
- Center on Selection - centers the display on the selected objects without changing the zoom level.